
Framing Pictures in Your Home
Framing Pictures in Your Home
Framing pictures is a quick, easy, and inexpensive way for you to bring life into any room of the house. Here are some great tips on how to do it.
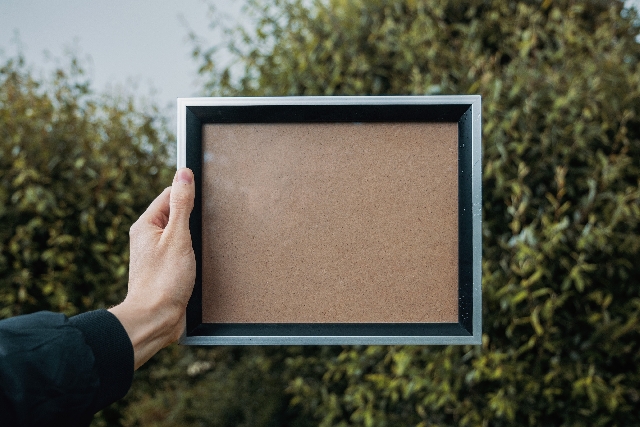
A-frame needs to be large enough to accommodate your picture (the larger the better), but not so large that it turns your entire wall into a picture frame. A good rule of thumb is to have a frame about equal in height and width to the picture you want to be enclosed. The most common mistake people make when framing pictures is making them too small, so make sure you’re giving your image plenty of room!
1. Select Your Picture: As we mentioned earlier, there are certain qualities that make certain types of images stand out from others. Bigger images are more dramatic but are also more difficult to work with (weighing a lot more than smaller images).
2. Frame Your Picture: Okay, now the hard part begins… You’ll want to be sure that your photo is centred on your wall with all sides visible (not just two sides!). Try not to have anything hanging on the back or side if possible, since that can be distracting if not avoided (be careful not to place your photo against another piece of wall that has something hanging on it).
3. Hang Your Picture: Next thing you need to do is hang your picture securely in its frame (so it doesn’t move around or fall off while you’re working). You can hang directly on the wall by means of nails or screws through holes in the back panel and into studs along the wall; however, some people prefer using hooks installed into the back panel instead of screws because they’re easier for everyone involved and faster for us as well! If you choose this method, make sure nothing is hanging over or onto where you’re placing your picture when installing it. If using hooks instead of screws then try using a couple of extra washers behind them rather than screwing everything up tight immediately before putting them on – having extra washers means there’s more space for things like towels and magazines underneath each picture so they don’t get hooked up accidentally! Or even screw them through holes near one end of their ends so they don’t get hung up at an angle like this:
4. Make Your Image Comfortable: Once you’ve hung everything up then it’s time to put some finishing touches on it! The most important thing here is making sure your pictures are well protected from dust and sunlight – we recommend putting something
How to Choose The Right Frame
It’s important for you to get the right frame for your picture. If you can’t find the perfect frame for your picture, you’ll have a hard time making it look good and you will probably not be happy with the outcome. You’ll want to choose a frame that is durable and sturdy so that your picture will last as long as possible.
If you want to make sure that the frame will stand up to years of use without breaking or being damaged, then it’s best to choose an oak frame. Oak is known for its ability to withstand years of use in homes, so if you don’t mind spending more money than necessary for an oak frame (or are sick of getting new frames every year), then oak is one way to go!
You may also want to think about whether or not you want the picture mounted inside or outside on the wall. If it’s outside on the wall, then there are options like glass or Plexiglass that can be used in place of wood with this method, which can give your wall some nice visual impact while adding durability without having wood panels in between them as well. If it’s mounted inside on a wall though, then wood framing may be more practical since wood panelling is commonly used over wooden frames inside walls that aren’t painted or insulated (and this means there isn’t insulation between them). You should also consider whether you want your image printed onto fabric or cloth instead of paper (which gives different types of textures) or on metal instead of plastic (which makes it cheaper).
You should also consider what type of paint colour (if any) will look best with your pictures before choosing a frame like this one so that they don’t clash together when hung together – for example, if paint colours are too similar but need matching patterns on fabric instead of being mismatched against something else like metal sheeting; if paint colours aren’t quite as similar but could still be matched against metal sheeting; etc. If something like this has been done before then read up on what other people have done with their pictures before doing it yourself!
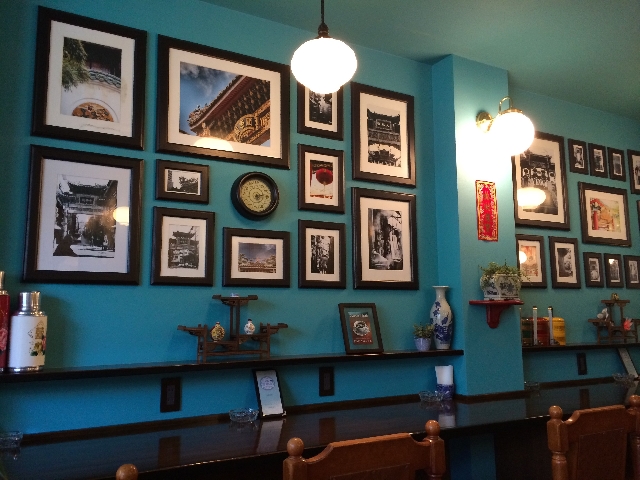
Where To Hang The Picture
I don’t want to write a full tutorial on hanging pictures; instead, I offer a few pointers to help you get started.
There are four methods of hanging pictures:
• Straight-up and down (but not horizontally or vertically)
• Framed above the fireplace (for walls and ceilings)
• Framed at the top of the stairs or in a corner of a room, where it can be viewed from the entryway or kitchen
• Framed on a wall in the middle of open space, like a hall or landing
So you may find that there is only one method that works well for you; but if you use all four methods, your pictures will look great. The first thing to do is determine which method best suits your needs and your budget.
For example, if you’re getting married, you’re going to want to hang all your pictures in one spot rather than having them scattered around the house. If you want to add personality to your living room or dining room, we suggest framing at the top of the stairs rather than framing in an entryway or hallway.